Install DSM 7.01 on PC with tiny-core repill

The best way i found in order to install DSM 7 in PCs with the necessary drivers to be included:

1. Download tiny core-redpill:

https://github.com/pocopico/tinycore-redpill/raw/main/tinycore-redpill.v0.4.1.img.gz

2. Unzip it.

3. Burn the img file to USB.

4. Plug the usb to the machine that is going to be used as server.

5. Boot via USB.

6. Open the command prompt (bottom right icon).

7. Execude one by one the following commands:.

/rploader.sh serialgen DS3615xs Y./rploader.sh identifyusb now Y./rploader.sh satamap nowY /rploader.sh backup now./rploader.sh build bromolow-7.0.1-42218Y

8. Reboot the device from UI (bottom left icon).Bootloader is now ready!

9: Download DSM 7: https://global.download.synology.com/…/DSM_DS3615xs…

10: Boot server via USB again.

11: You can find your server from another PC in http://find.synology.com/ and install the DSM 7 file that you downloaded at step 9.

tinycore-redpill automatically downloads the necesary drivers your PC needs to properly use DSM but if you done the process and you cant find your server in http://find.synology.com/ there is an network card driver incompatibility and you have to contact with pocopico here in order to add the proper driver: https://xpenology.com/forum/profile/23713-pocopico/ When I needed him he helped me and I’m really grateful!

How to Fix VPN Error ” A Connection To The Remote Computer Could Not Be Established” In Windows 10

We generally use a VPN for office networks or to establish an increasingly secure connection with the internet. While setting up a VPN connection is a breeze, there can also be problems associated with it. Many users experience an error while connecting to a VPN network (which had worked earlier) saying, “A connection to the remote computer could not be established. You might need to change the network settings for this connection.”

If you are also experiencing this error, nothing to worry as this can fixed easily. Let’s see how.

Solution 1 : Using Device Manager

Step 1: Press the Windows key + X together on your keyboard and select Device Manager from the context menu.

Step 2: In the Device Manager window, scroll down and expand Network adapters. Now, right-click on WAN Miniport (SSTP) and select Uninstall device from the menu.

Step 3: Repeat the same process as shown in Step 2 to Uninstall device for the all the Miniports listed below one by one

  • WAN Miniport (PPTP)
  • WAN Miniport (PPPOE)
  • WAN Miniport (Network Monitor)
  • WAN Miniport (L2TP)
  • WAN Miniport (IPv6)
  • WAN Miniport (IP)
  • WAN Miniport (IKEv2)

Step 4: Now, click on the Action tab at the top of the window and select Scan for hardware changes from the context menu. This will re-install all the WAN Miniports again as it was earlier. So, basically, it installs them freshly and now your VPN should work back again.

Solution 2 : Disable Proxy

1. Press Windows key + R to open run command box.

2. Write inetcpl.cpl in it and click OK.

3. Click on Connections Tab from the top tab list.

4. Now, click on LAN Settings.

5. Make sure that Use a Proxy server for your LAN is unchecked.

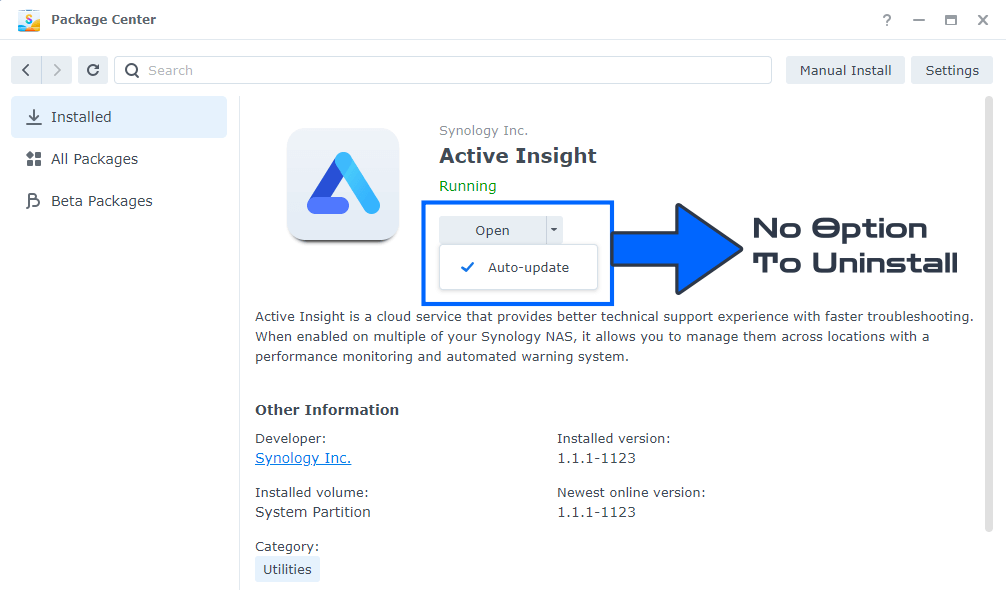
How to Delete Active Insight – Synology DSM

Have you happened to notice that you can’t delete Active Insight from Synology Package Center? If, for one reason or another, you are not interested in the service and you want to have nothing to do with Active Insight, today I will teach you how to permanently delete it from your NAS. Remember, even if you delete the Active Insight package, if you change your mind, you can always easily reinstall it with just one click directly from Synology’s Package Center. What is Active Insight? Active Insight is a cloud service that provides a superior technical support experience with fast troubleshooting. When enabled on multiple Synology NAS devices, it allows you to manage all of them across locations with a performance monitoring and automated warning system. So, to recap: how to uninstall Active Insight? Check out the steps below for the how-to guide.

Active Insight Remove Delete Uninstall Synology NAS 1

Continue reading “How to Delete Active Insight – Synology DSM”

How to Enabling DNS over HTTPS (DoH)

DNS over HTTPS (DoH) support appeared on Windows 10 2004 build (May 2020 Update). Now Windows 10 can resolve names over HTTPS protocol using the built-in DoH client. In this article we’ll tell what DNS over HTTPS protocol is used for, how to enable and use it on latest Windows 10 builds.

When your computer connects to a DNS server to resolve names, it sends and receives DNS requests/responses over the Internet in clear text. An attacker can intercept your traffic, detect what resources you have visited or manipulate your DNS traffic using a man-in-the-middle type of attack. The DNS over HTTPS protects user data privacy by encrypting all DNS queries. The DoH protocol encapsulates DNS queries into HTTPS traffic and sends them to a DNS server (you need use use a special DNS server with DoH support).

Windows 10 2004 does’t yet have a GPO parameter or an option in the graphic interface to enable DNS-over-HTTPS. Currently, you can only enable DoH on latest Windows 10 builds via the registry:

  1. Run the regedit.exe;
  2. Go to the registry key HKEY_LOCAL_MACHINE\SYSTEM\CurrentControlSet\Services\Dnscache\Parameters
  3. Create a new DWORD parameter with the name EnableAutoDoh and value 2;
    windows 10 enable dns over https via registry parameter EnableAutoDoh
  4. Then restart the DNS client service. To do it, reboot your computer, since you won’t be able to restart the dnscase service normally (Restart-Service -Name Dnscache –force command returns the following error: Collection was modified; enumeration operation may not execute).
Continue reading “How to Enabling DNS over HTTPS (DoH)”

Fake Freebies To Avoid

We all want freebies, but sometimes the bad guys play on that desire. None of these supposed freebies will ever come. The entire purpose of these fake freebies is to harvest your personal data for spamming, or worse, purposes. Don’t fall for them! If you find anymore, please add them to the Wiki and I’ll update the list.

FAKE Freebies:

Acidophilus Pearls
*http://www.trupearls.com/go/Pearls/pubSample.aspx?alias=Pearls&t…

Agrimarks Plant Markers for Gardens
*http://agrimarks.com/sample.html Continue reading “Fake Freebies To Avoid”

solve Synology L2TP Sever with Win xp & Win 7 connection problem

Synology VPN

  • Log on to the Windows Vista client computer as a user who is a member of the Administrators group.
  • Click StartStart button, point to All Programs, click Accessories, click Run, type regedit, and then click OK. If the User Account Control dialog box is displayed on the screen and prompts you to elevate your administrator token, click Continue.
    Locate and then click the following registry subkey:
    HKEY_LOCAL_MACHINE\SYSTEM\CurrentControlSet\Services\PolicyAgent
  • Note You can also apply theAssumeUDPEncapsulationContextOnSendRule

    DWORD value to a Microsoft Windows XP Service Pack 2 (SP2)-based VPN client computer. To do this, locate and then click the following registry subkey:

    HKEY_LOCAL_MACHINE\SYSTEM\CurrentControlSet\Services\IPSec

    On the Edit menu, point to New, and then click DWORD (32-bit) Value.

  • Type AssumeUDPEncapsulationContextOnSendRule, and then press ENTER.
  • Right-click AssumeUDPEncapsulationContextOnSendRule, and then click Modify.
  • Select “2” configures Windows so that it can establish security associations when both the server and the Windows Vista-based or Windows Server 2008-based VPN client computer are behind NAT devices.
  • Click OK, and then exit Registry Editor.
  • Restart the computer.

Disable Thumbs.db creation on network drives in Windows

Windows Thumbs.db files can cause a great deal of annoyance when they’re placed on network locations. Not only can it cause extra resource consumption, but can inadvertently lock files and folders that otherwise need to be manipulated.

However, it’s easy to turn off the generation of these files. To do so, just follow these steps:

  • Click Start, type ‘gpedit.msc’ and hit enter.
  • Go to User Config > Admin Templates > Windows Components > Windows Explorer
  • Locate ‘Turn off the caching of thumbnails in hidden thumbs.db files’ and double click on it to edit the policy
  • Set the Policy to ‘Enabled’ and click Apply, then ok.

That’s it. I don’t remember if it requires a reboot to fully take effect, but Thumbs.db files will not be created or used.

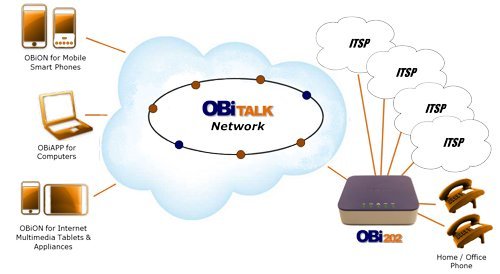
Setup OBION iOS/android receiving incoming call

You need to tell your OBi where to send the incoming calls. At the moment it only sends the incoming calls to the phone connected to your OBi. Assuming that GV is set up on sp1, then change the InboundCallRoute to this:

Voice Services > SP1 Service > X_InboundCallRoute:
{ph,pp(ob290123456)}

Where 290123456 is your softphone number.

This will send incoming calls to the phone attached to your OBi and to your softphone number associated with the android app. Whichever answers first will take the call.

Make changes via the Obi Expert Configuration pages. From your OBi Dashboard, click on your OBi number and follow the prompts to get there. To change a value uncheck both boxes to the right of the value and leave them unchecked. After changing the value, press submit at the bottom of the page and wait a few minutes for the Obi to reboot.

Remove age-restricted on youtube

In order to view age-restricted videos, it’s a good idea to verify your age associated with your Google account. You can follow these steps to check your birthday:

Sign into Google+ on the desktop.
In the left nav bar, hover over Home and click Profile.
At the top, click the About tab.
Click Edit in the Basic Information section.
Verify your birthday and update if necessary.
Click Save.

Once you verify your age, sign out of the YouTube iOS app and sign back in. You should now be able to watch age-restricted videos. If your birthday is listed as over 18 years of age on your profile, please check back in a few days

中国上古传说中的神兽

上古时期神话传说中有很多种神兽,如白泽、夔、凤凰、麒麟、梼杌、獬豸、犼、重明鸟、毕方、饕餮、腓腓、诸犍、混沌、庆忌等。

想必很多人是只闻其名,也不知其情不知其形,更不知其真实情况。下面就给大家介绍一下。

钟山神(zhong shan shen)

自女儿山至贾超山共十六座山,方圆三千五百里。其山神都是马身龙首神。又名中山神。(《中次久经》解读

獓狠(犬因)(ao yin)

三危山食人巨兽,样子有些像牛,长着四只角,它的毛发很长,就像披在身上的蓑衣。

狰(zheng)

章峨山,千里无草木植被,多碧岩。此山中有一畏兽,五尾一角,吼叫声如雷劈石,以老虎豹子为食物。

蛊雕(gu diao)

是一种似鸟非鸟,似豹非豹的食人畏兽,独角,叫起来像婴儿的啼哭。

Continue reading “中国上古传说中的神兽”